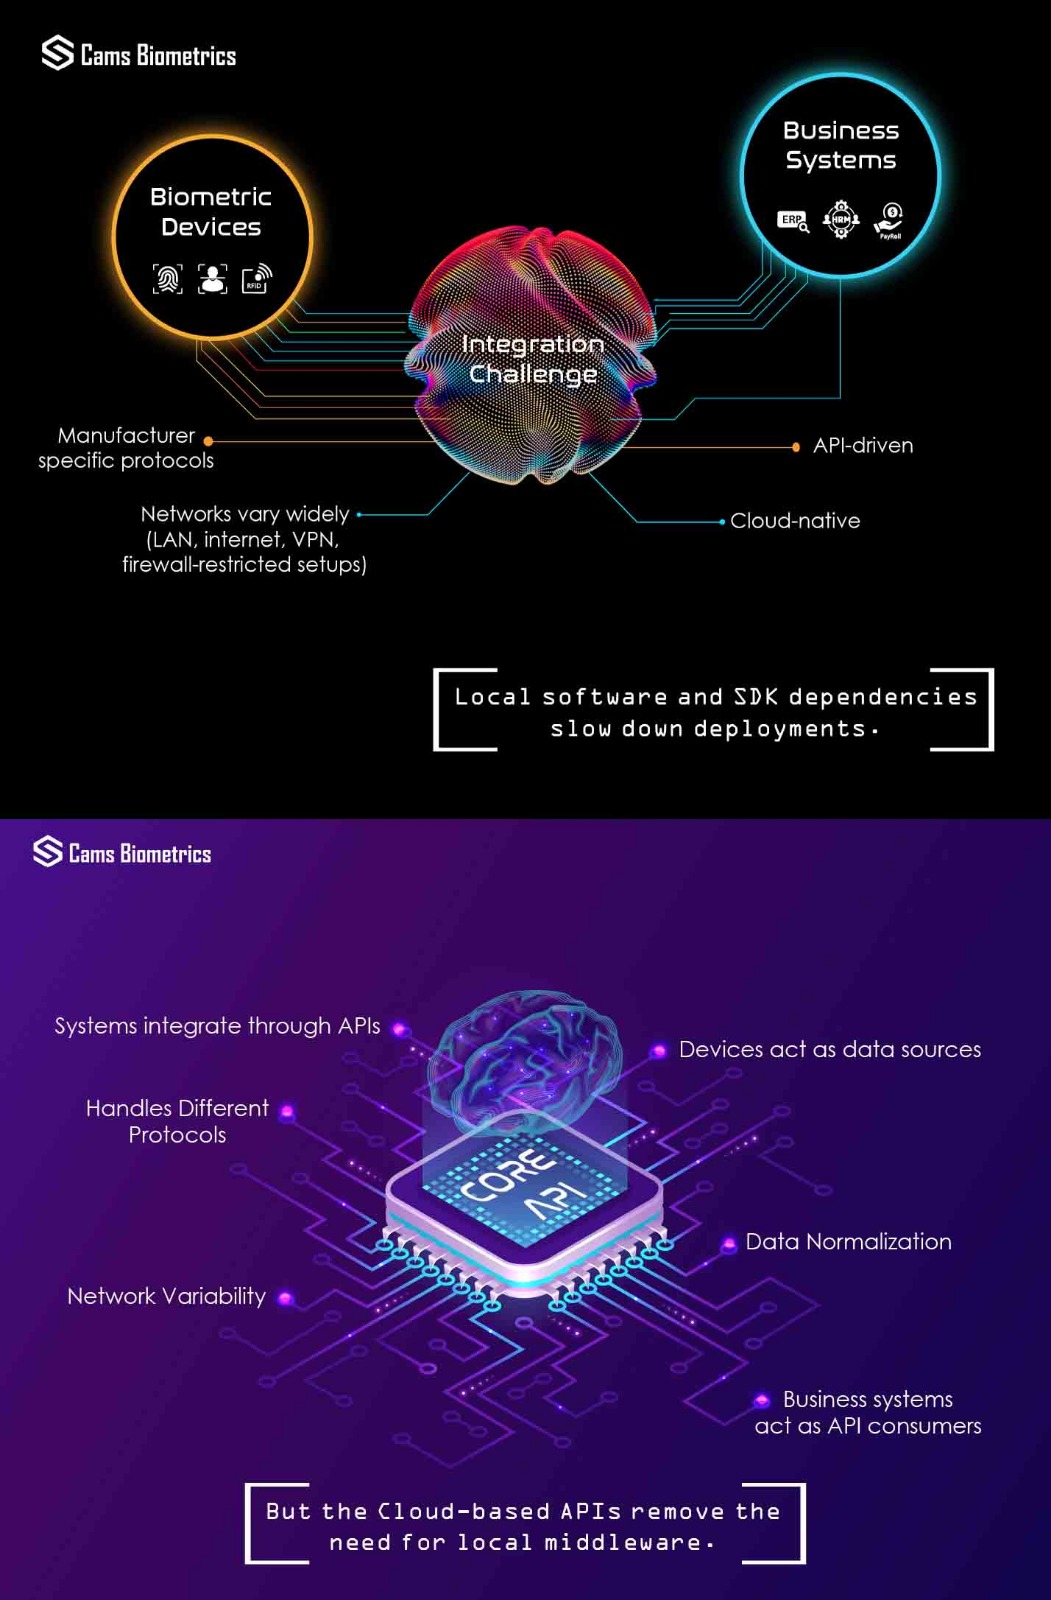
This guide is designed for end users, technicians, and IT admins using Cams biometric attendance systems. It covers commonly encountered messages, how to access key device menus, and which features you can configure directly on the device.
Each section explains what the feature or error means, how it behaves, and how to adjust it all in clear, actionable steps.
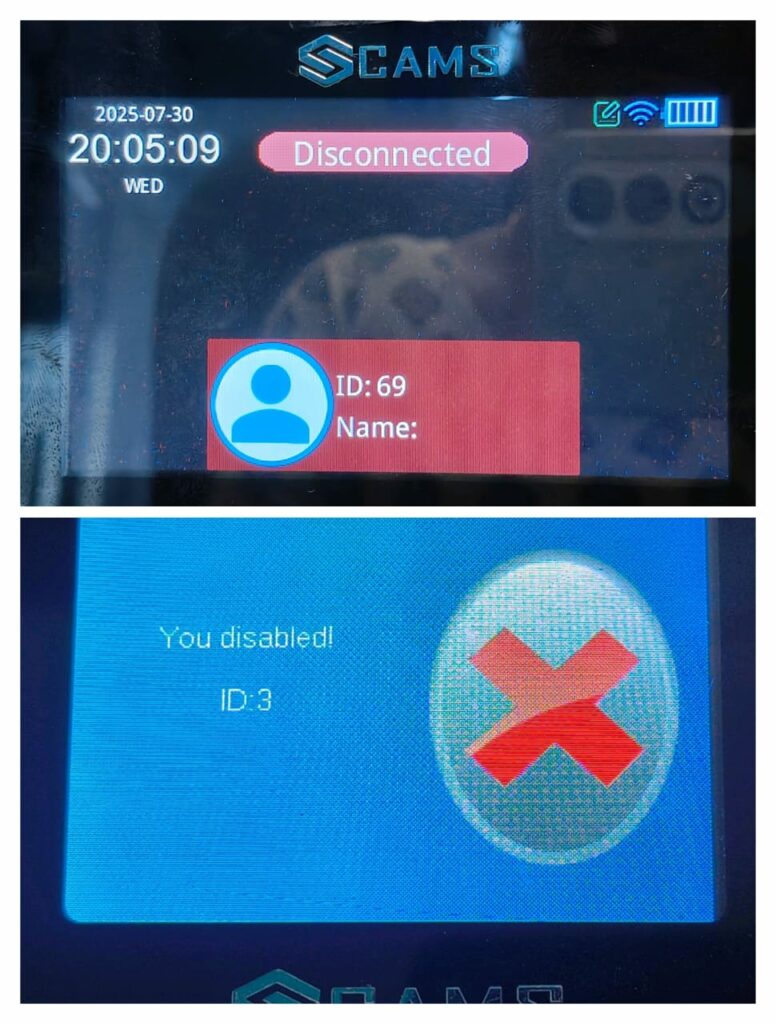
1. “You Disabled” – Server Not Approved
Message: You Disabled / You Disconnected
This occurs when the device isn’t approved or authenticated by the cloud server.
Instructions to Disable Server Approval on the Device:
- On the device, go to:
Menu ➡️ Comm Set ➡️ Server ➡️ Server Approval - Set Server Approval to: No
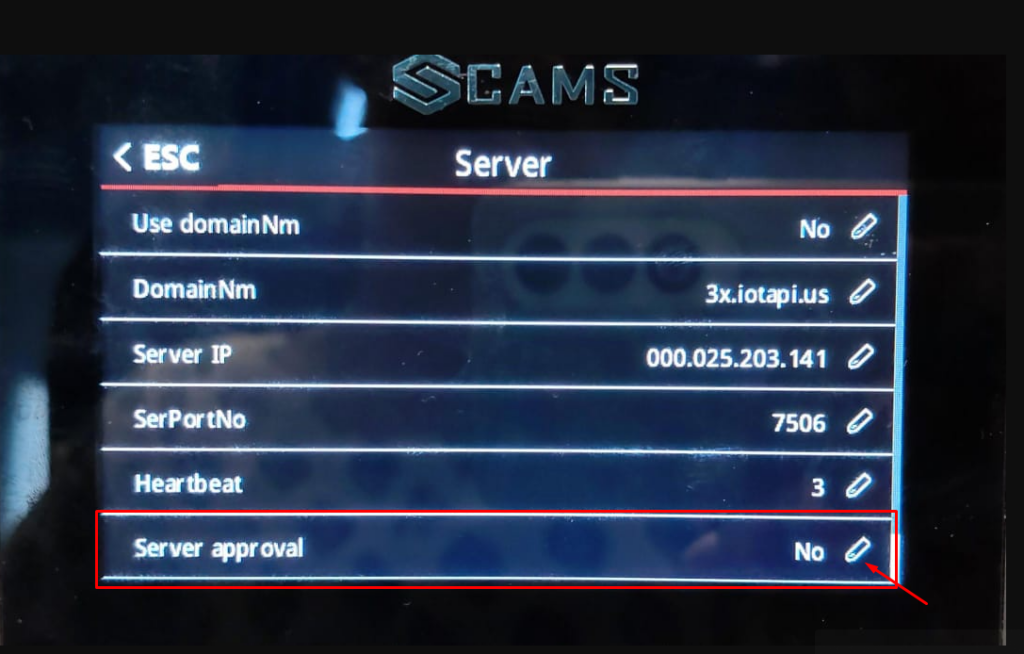
This allows the terminal to function even if server-based approval hasn’t occurred yet.
2. “Verify Another” – Dual Authentication Misconfiguration
Message: Verify Another
This prompt appears when the device expects a second user for access (dual authentication).
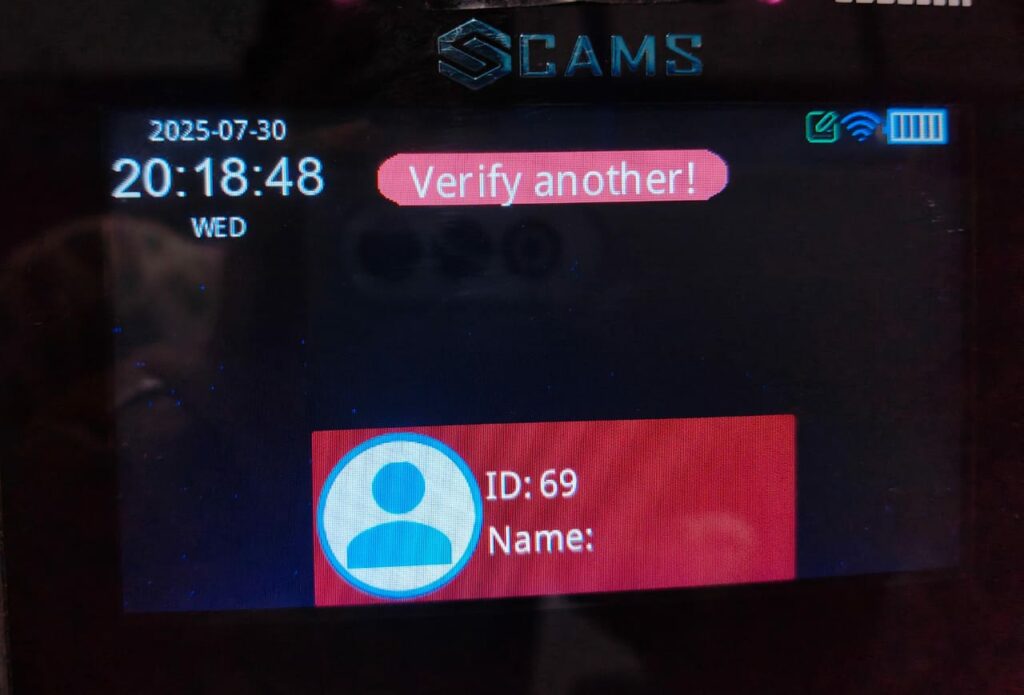
To resolve this:
- On the device, go to:
Menu ➡️ Access ➡️ Access ➡️ Users - Set Users to: 0 or 1
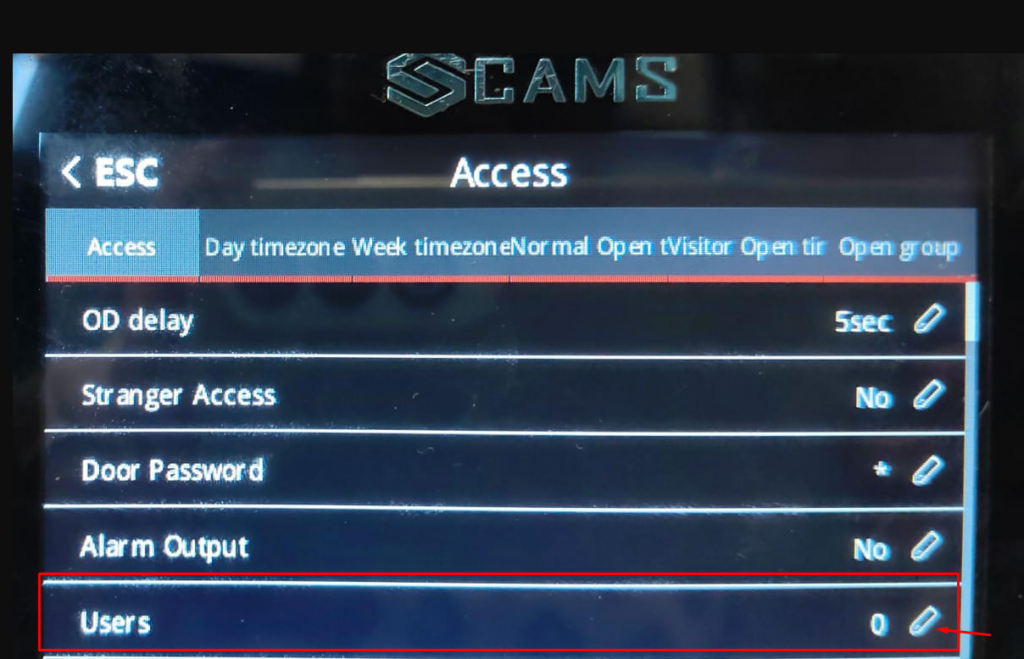
Note: If set to 2 or more, the device will require another user to punch.
Single-user punch will be blocked device will require multiple users to punch.
A single-user punch will be blocked in this mode.
3. “Illegal” – Access Denied to Non-Admins
Message: Illegal
This is shown when a non-admin user tries to access restricted system menus.

To fix permission-related issues or allow configuration access:
- On the device, navigate to
Menu ➡️ User Management ➡️ User List/User View ➡️ Select User - Set Privilege to: Admin
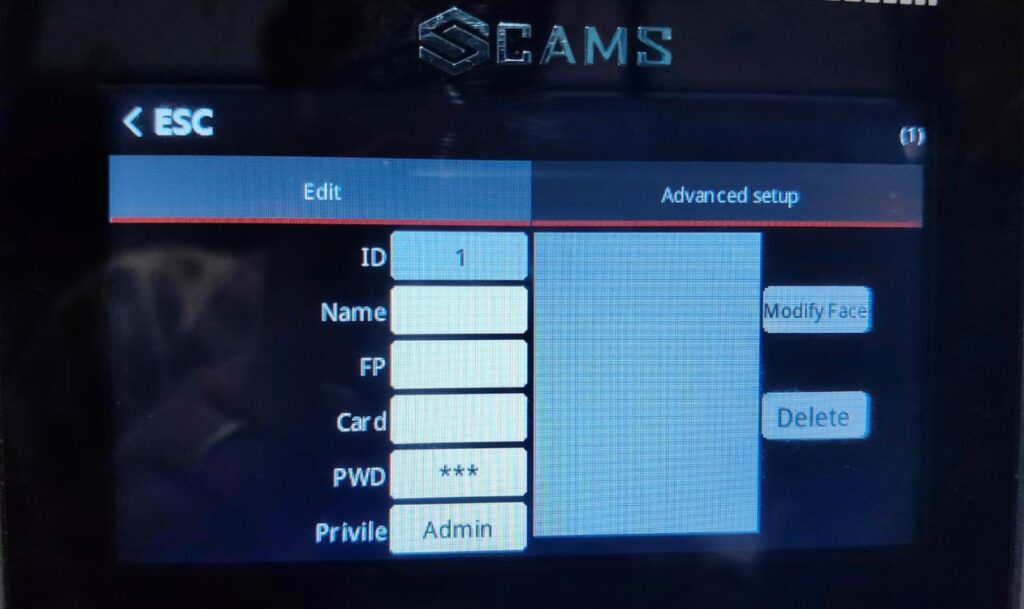
Note: Only users with Admin privileges can modify system configurations.
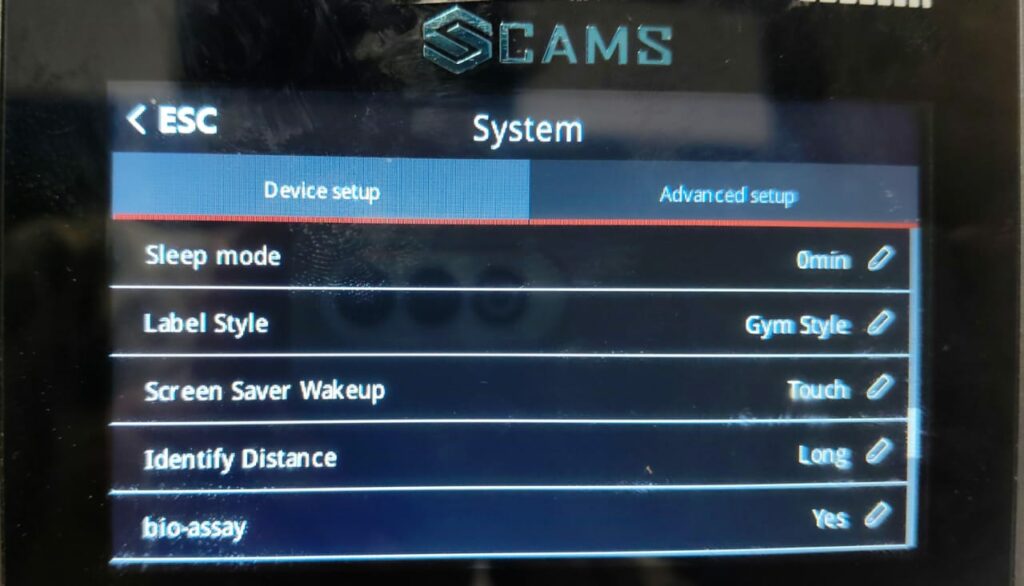
4. Distance Identity – Face Detection Range
Use this to control how far the camera identifies a face.
To configure on the device:
- Navigate to
Menu ➡️ System ➡️ Advanced Setup ➡️ Identify Distance
Set Options:
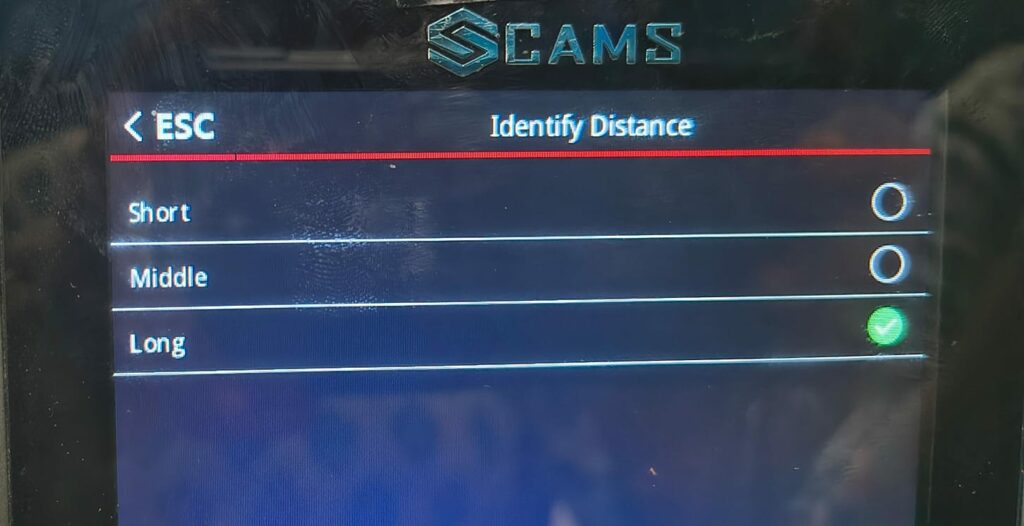
- Long – For large open areas
- Middle – For standard doorway range
- Short – For close-range desks
5. Add User (Manual Enrollment)
Enroll a new person with biometric or credential details.
To add a new user on the device:
- Navigate to
➡️ Menu ➡️ User Management ➡️ Add User
You can add:
- Fingerprint
- Face
- Palm
- Card
- Password
- Face Picture (used for identification or visual logs, depending on device model)
Note: Available options may vary depending on your device model and firmware version. Ensure the corresponding hardware is supported and enabled.
Watch the how-to video: https://drive.google.com/file/d/1P9zRsVXDGkiSbIN_u1umz_a1bFo4P9Dr/view?usp=sharing
6. User List / User View – Edit Existing Users
Edit or modify a existing user with biometric or credential details.
To edit a user, perform the following steps on the device:
- Navigate to
➡️ Menu ➡️ User Management ➡️ User List/User View ➡️ Edit
Note: You cannot modify the User ID it’s system-assigned and permanent.
7. Download/Upload Users via USB
It allows you to download/upload user data from/to the device.
To perform this on the device:
- Navigate to
Menu ➡️ User Management ➡️ Download enrollmsg / Upload enrollmsg
Use Download enrollmsg to export user data.
Use Upload enrollmsg to import user data.

Download:
Allows you to export user data and logs in Excel format to a USB drive for backup or reporting.
Upload:
Lets you import user data into the device using the Excel template provided by Cams. Ensure you fill in the template correctly before uploading.
Tip:
Make sure your USB drive is FAT32 formatted, and do not modify the template structure to avoid errors during upload.
8. User Log Info – View Attendance Logs
To check recorded attendance activity directly on the device:
To perform this on the device:
- Navigate to
Menu ➡️ Shift ➡️ Log Info
This section displays punch records, including timestamps and user ID (depending on device model).
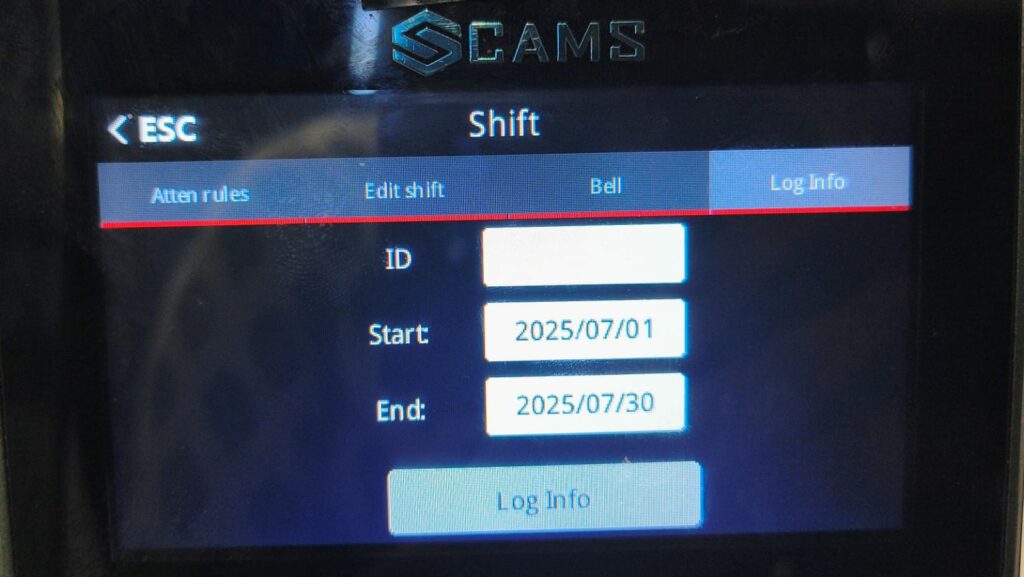
Filter by:
- User ID (Optional)
- Start Date
- End Date
Useful for individual activity audits as well as viewing logs for all users.
9. Duplicate Punch Restriction – Reverify Timing
When enabled, the device blocks repeated punches by the same user within a short time interval.
To configure this on the device:
- Navigate to
Menu ➡️ Shift ➡️ Attn Rules ➡️ Reverify
Set to:
- 0 – No restriction
- 30 – Blocks repeated punches for 30 seconds
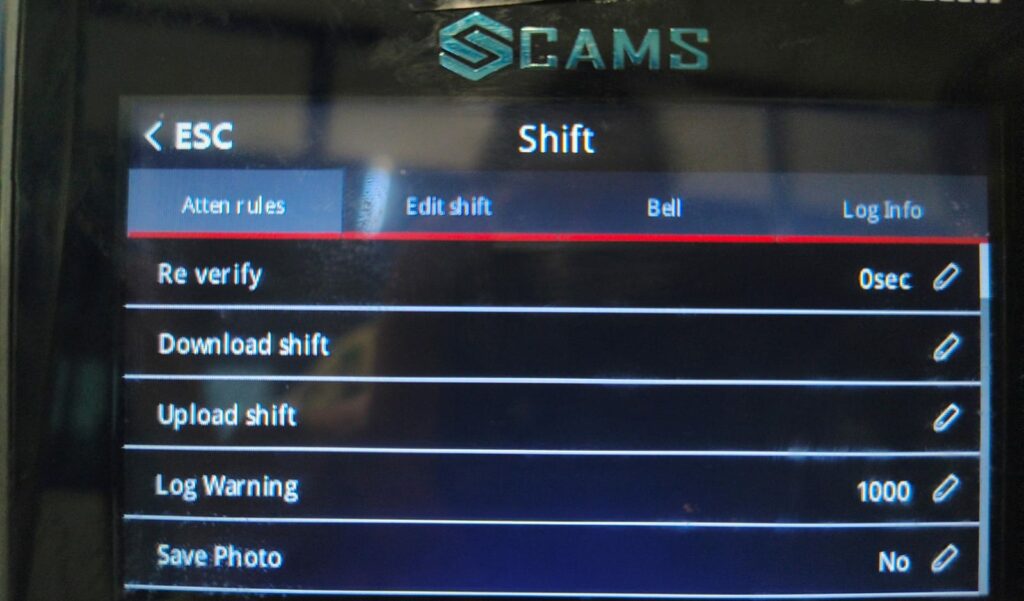
🔎 Note: If a different user punches during the interval, the first user can punch again immediately.
This helps prevent accidental double punches and fraudulent entries.
10. Manual Report Download (USB)
To export attendance records directly from the device to a USB drive:
Perform the following steps on the device:
- Navigate to
Menu ➡️ Report
Then select:
- Start Date
- End Date
Insert a USB drive to export the data.
The device will generate and save the attendance report to the USB.
11. Time Settings – Set Clock
Accurate time settings are crucial for log accuracy and proper synchronization with reports and systems.
To set the time manually on the device:
- Navigate to
Menu ➡️ System ➡️ Device Setup ➡️ Time Option
Manually configure time and date.
12. Language Settings
You can switch the device interface to your local language for easier navigation and use.
To change the language on the device:
- Navigate to
Menu ➡️ System ➡️ Device Setup ➡️ Language
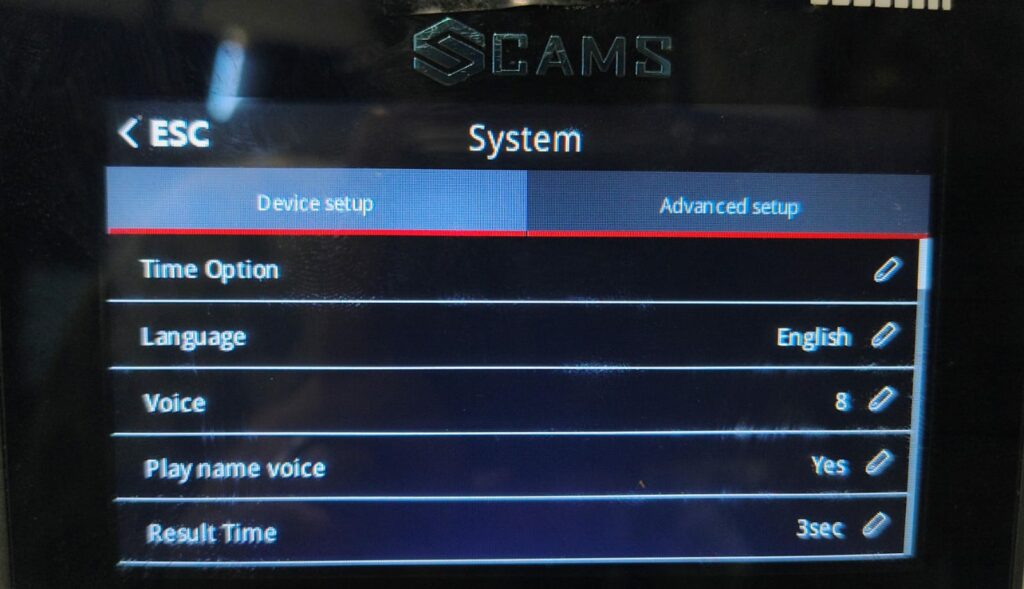
Select your preferred language from the list.
13. Volume Level
Control the speaker volume for voice prompts and system notifications based on your environment.
To adjust the volume on the device:
- Navigate to
Menu ➡️ System ➡️ Device Setup ➡️ Voice
Set to:
A value from 0 (Mute) to 9 (Maximum)
Tip: Use lower levels in quiet office settings and higher levels in noisy areas.
14. Screen Idle Time – Screensaver Activation
This setting controls how long the screen stays active when the device is idle.
To set this on the device:
- Navigate to
Menu ➡️ System ➡️ Device Setup ➡️ Screen Idle
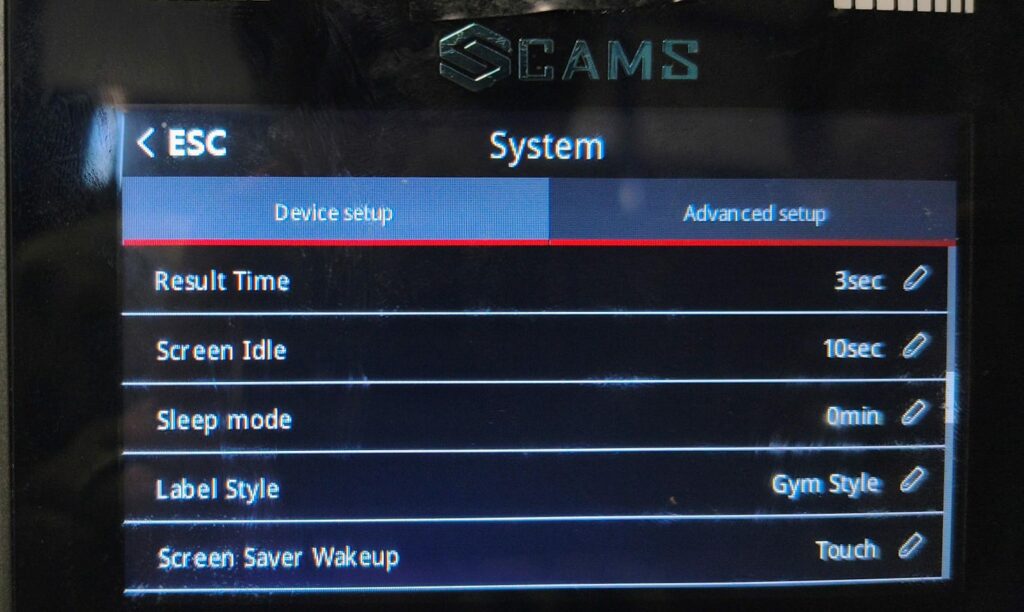
Example: 10 Sec
Adjust the duration based on your environment and power-saving preferences.
15. Sleep Mode – Power Saving
When no activity is detected, the device will enter low-power sleep mode to save energy.
To configure Sleep Mode on the device:
- Navigate to
Menu ➡️ System ➡️ Device Setup ➡️ Sleep Mode
Example: Set to 10 minutes of inactivity before entering sleep mode.
16. Device Verify Mode – Authentication Types
Choose how users are verified based on your security needs.
To set the verification mode on the device:
- Navigate to
Menu ➡️ System ➡️ Advanced Setup ➡️ Verify Mode
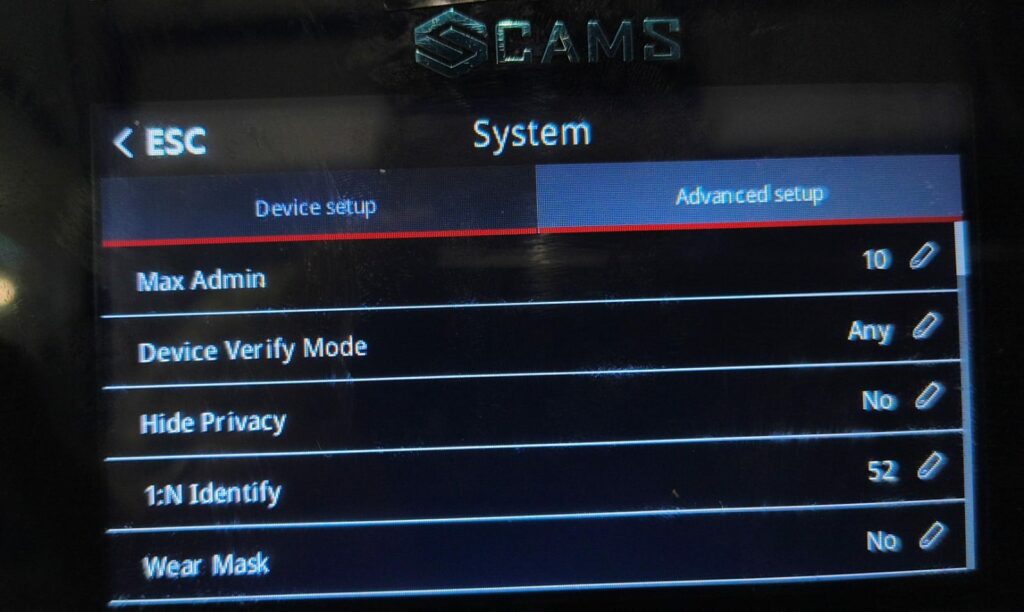
Available modes:
- FP Only (Fingerprint)
- Card Only
- Face Only
- Face + FP (Combined)
- Palm Only
- Palm + Face (Combined)
- Palm + FP (Combined)
- Any (Default)
Select the mode that best fits your security requirements.
⚠️ Important Note:
The features and settings described above are the only recommended manual configurations intended for end users, technicians, or administrators.
🛑 Other settings and features not listed here are factory-defined or backend-controlled defaults.
Modifying these may cause device malfunction, data loss, or unsupported behavior.
Please refrain from changing settings beyond what is described unless explicitly instructed by Cams Support.
⚠️ Note:
All screens and settings shown in this guide are based on the Hawking Series (AI-enabled devices). Options may vary depending on the specific model. If you notice any differences or need assistance, please contact our support team.
📞 Need Further Assistance?
If you require support beyond the settings and features listed above, feel free to reach out to us directly:
💬 WhatsApp: +91 98409 21006
📧 Email: support@camsbiometrics.com