This page helps you configuring your biometric machines to connect with the web server. The following screens are taken from Cams biometric machines. Some of the machines of ZKTeco will also same as Cams machines. In the following examples we have shared has screens of two different versions. If you have different software than what we have captured below, then you can find the closest meaning options to check if you get the similar options.
Network Configuration
Step 1:
- Connect an Ethernet cable to the biometric machine and ensure there is an active internet connection.
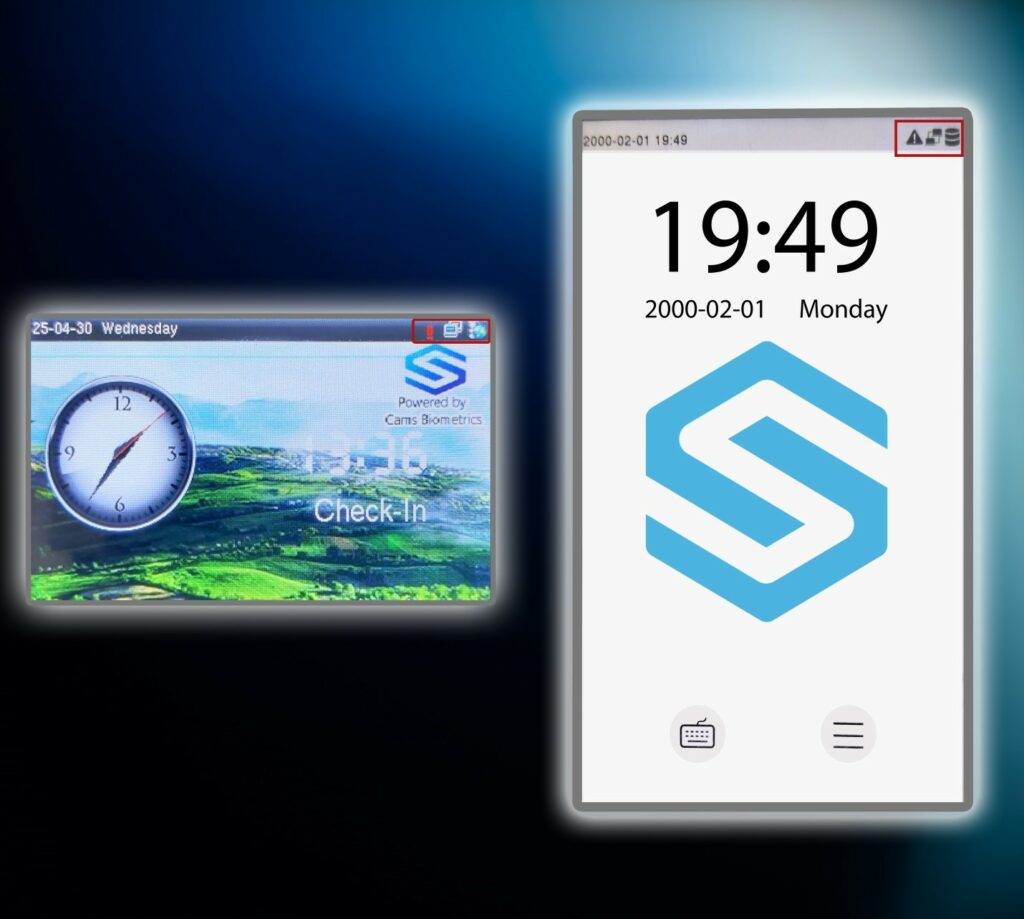
- Power on the machine. Once it starts, the main screen should appear similar to the image shown below.
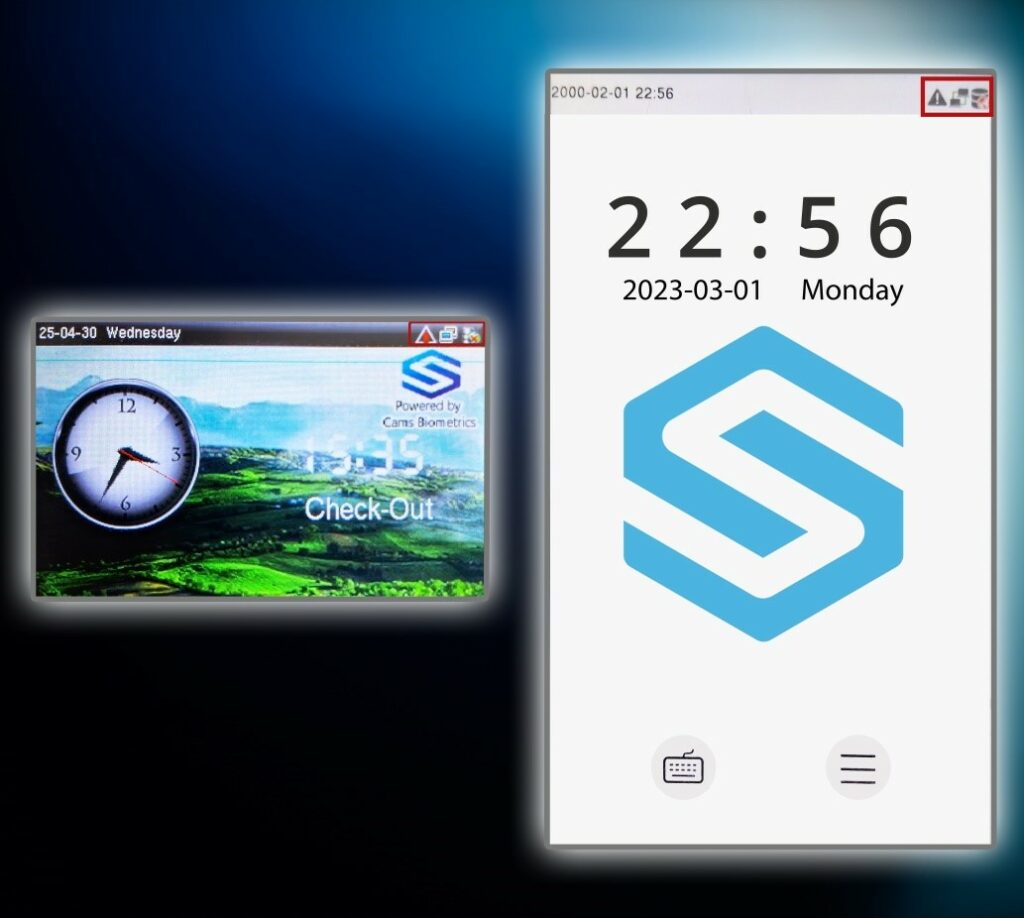
Note: If your machine is not connected to the internet, the symbol in the home screen will look below picture.
Step 2:
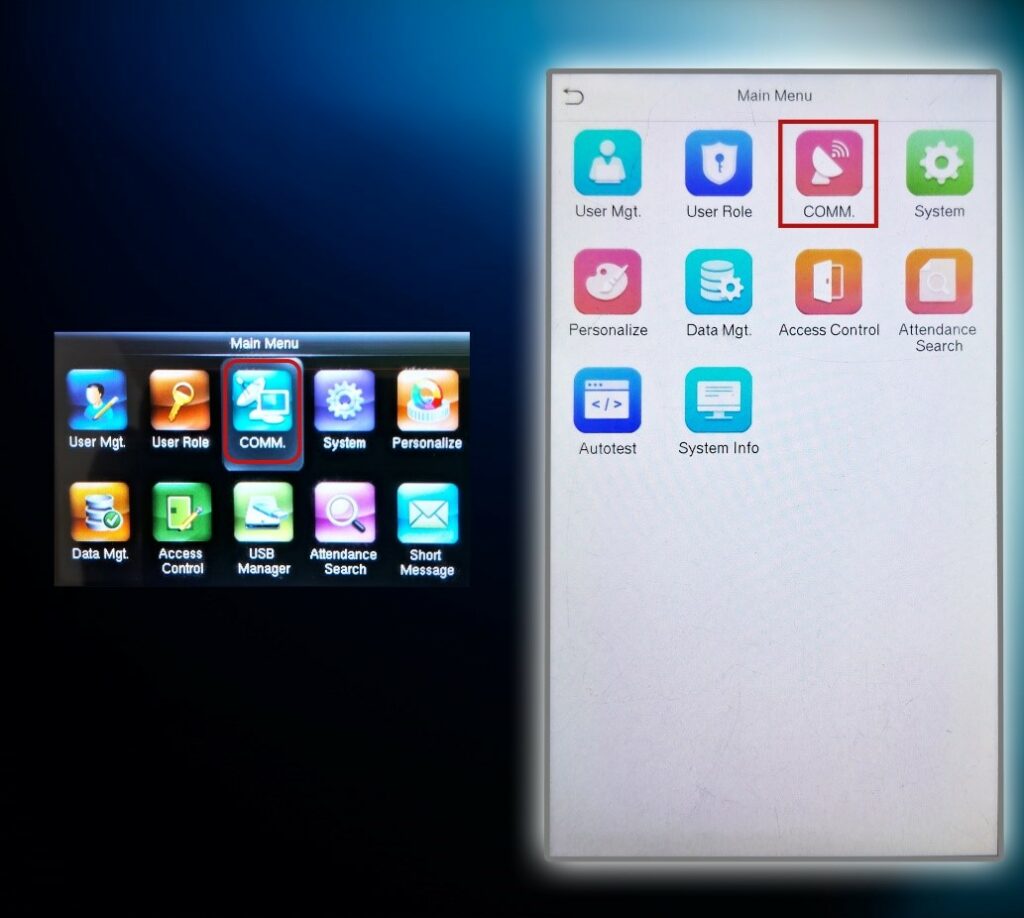
- Press the Menu button to open the main menu screen.
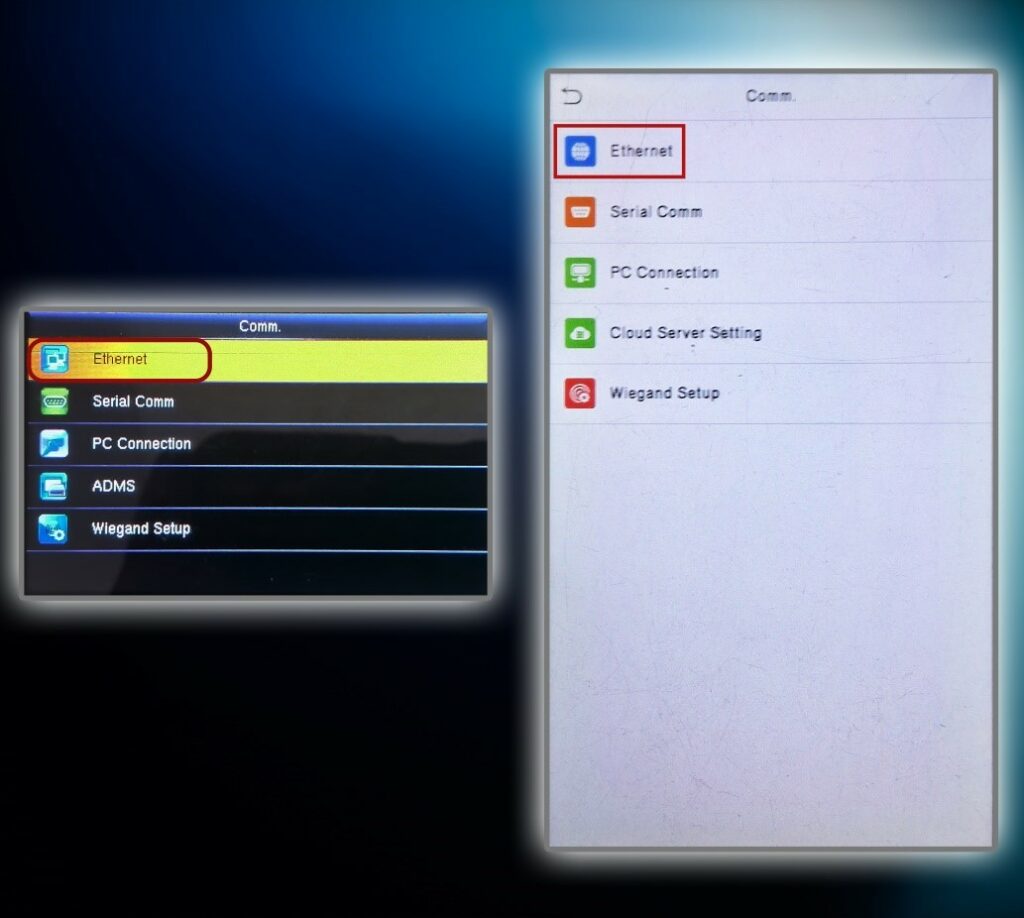
- From the menu list, select the COMM option to access communication settings.

Step 3:
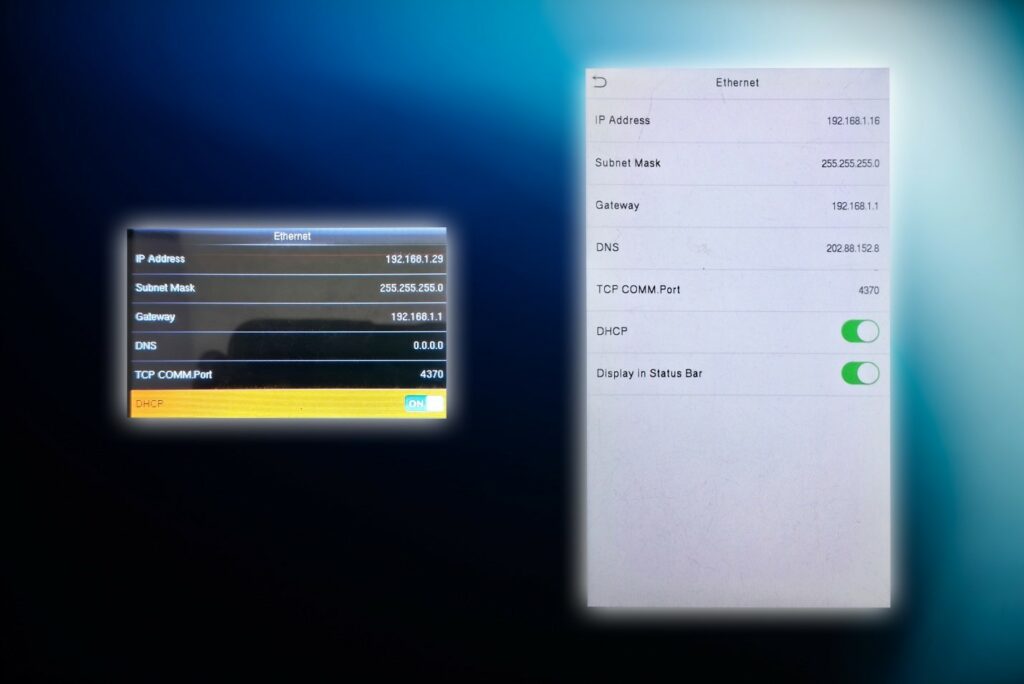
- If your menu screen looks like the one shown below, select the Ethernet or Network option to proceed with the configuration.
Step 4:
- Ensure that the IP Address, Subnet Mask, Gateway, and DNS Address match the settings of your local internet connection.
- If you’re unsure about your local network settings, please refer to Step 5 and 6 for guidance on how to check them.
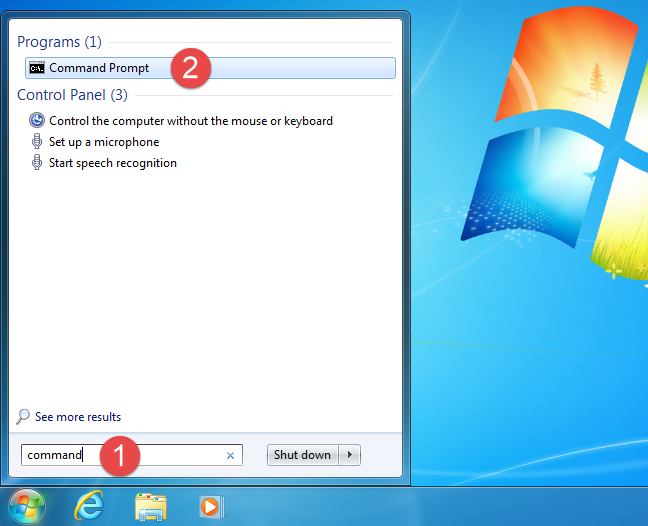
Step 5:
- On your computer, click the Start button.
- In the search bar, type “command” and press Enter to open the Command Prompt.
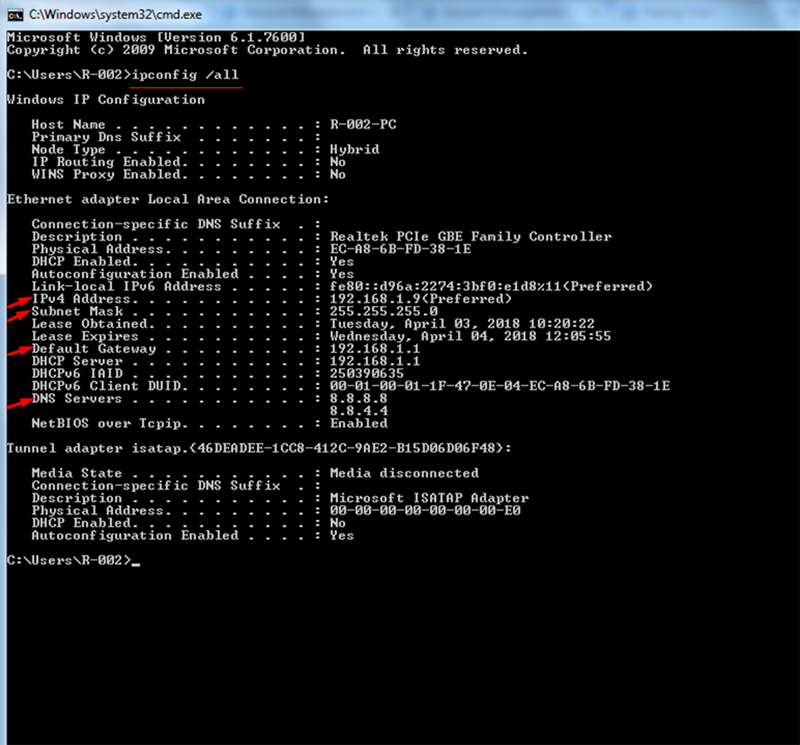
Step 6:
- In the Command Prompt window, type “ipconfig /all” (without quotes) and press Enter.
- This will display detailed information about your network settings, including IP Address, Subnet Mask, Gateway, and DNS Servers.
Instructions:
- Ensure that the first three segments of the machine’s IP Address match those of your computer’s IP address (as seen in Step 6).
- The machine’s Subnet Mask, Gateway, and DNS Address should also be the same as the values from your computer.
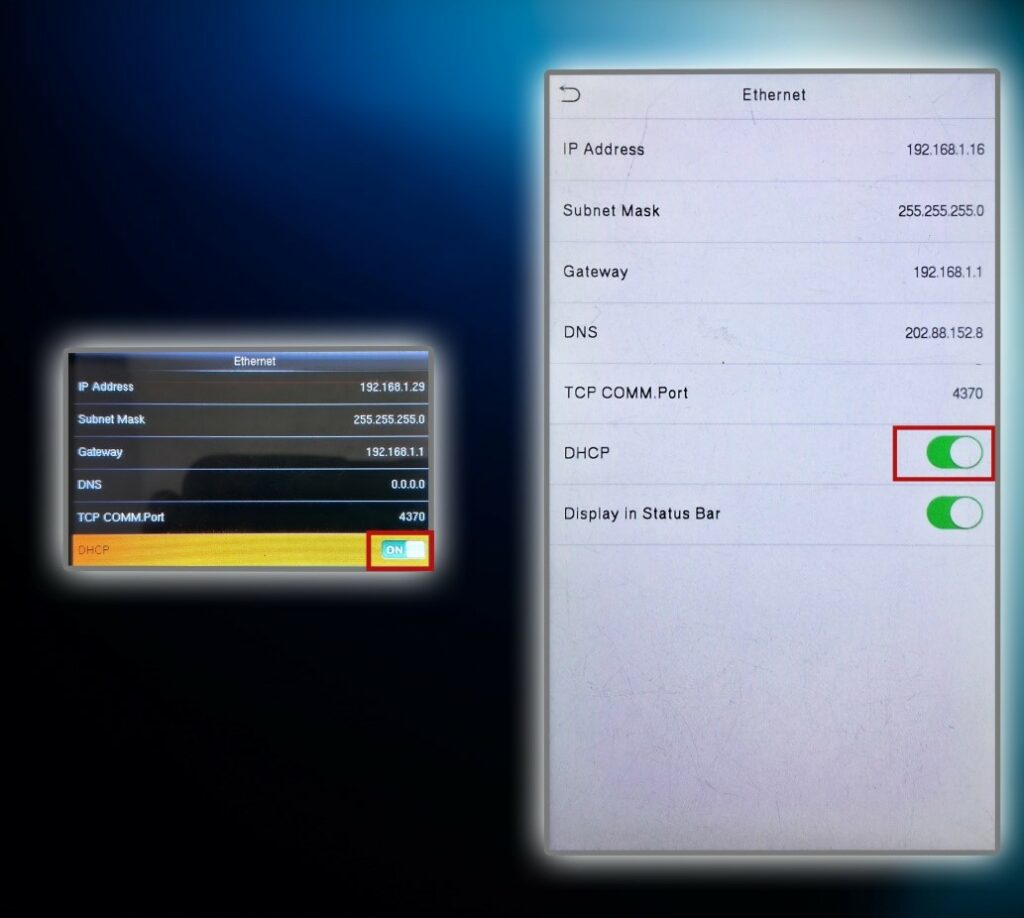
Note:
If DHCP is enabled on the machine, the network settings will be assigned automatically, and you do not need to follow steps 5 and 6 to manually verify the above information.
Step 7:
- Return to the home screen of your biometric machine.
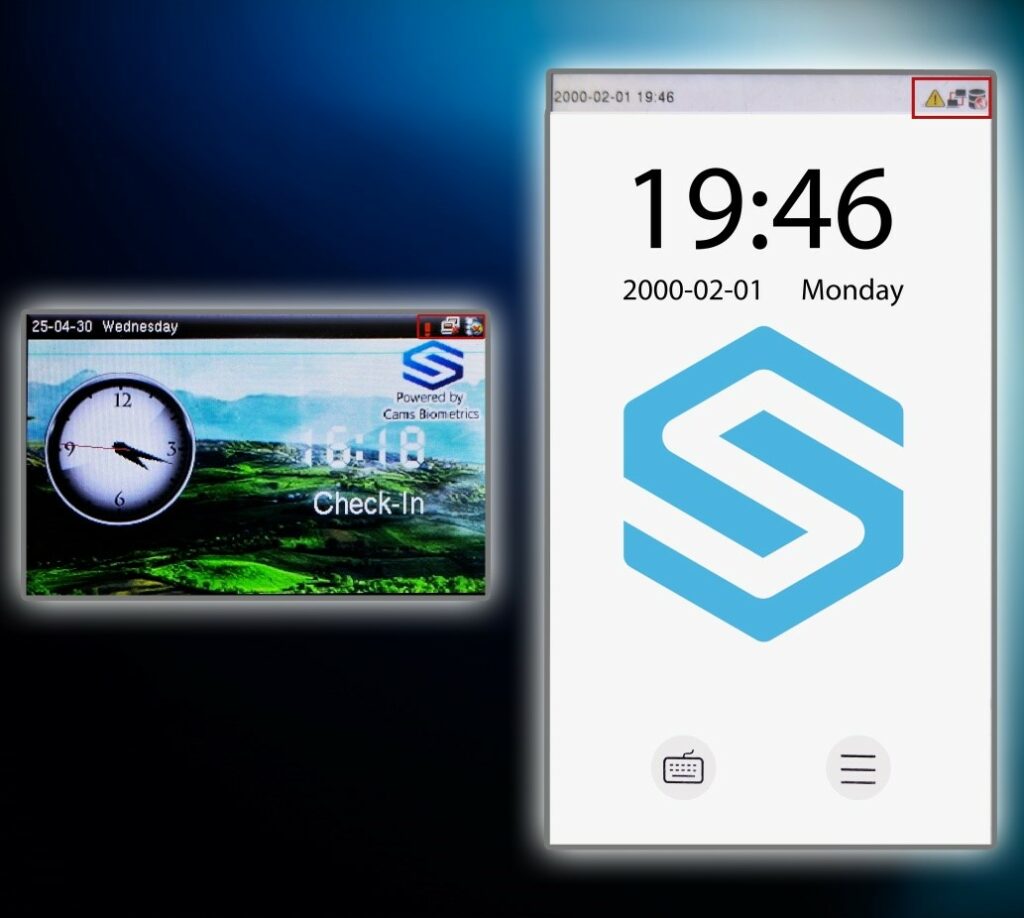
- Check if the device is connected to the internet.
A connected icon will appear on the screen, similar to the image shown below.

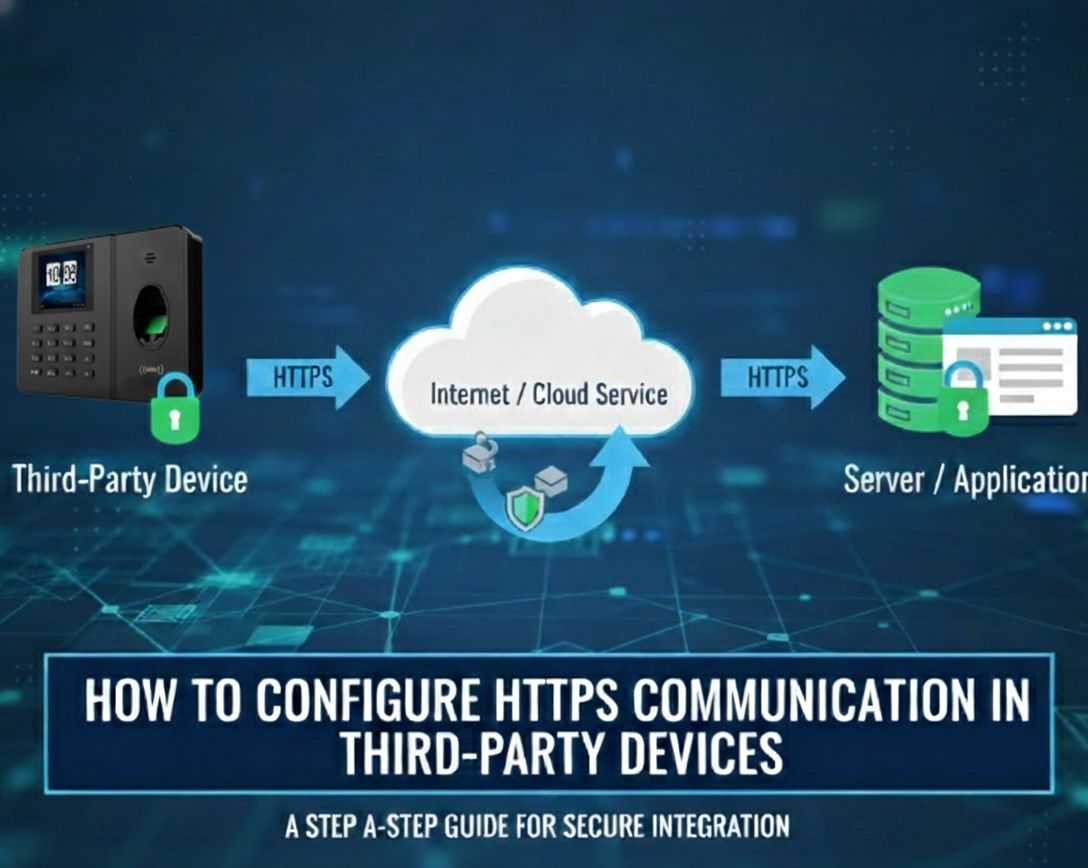
Server Configuration
Step 1:
- Tap the Menu button to open the main menu.
- From the list of options, select COMM to enter the communication settings.
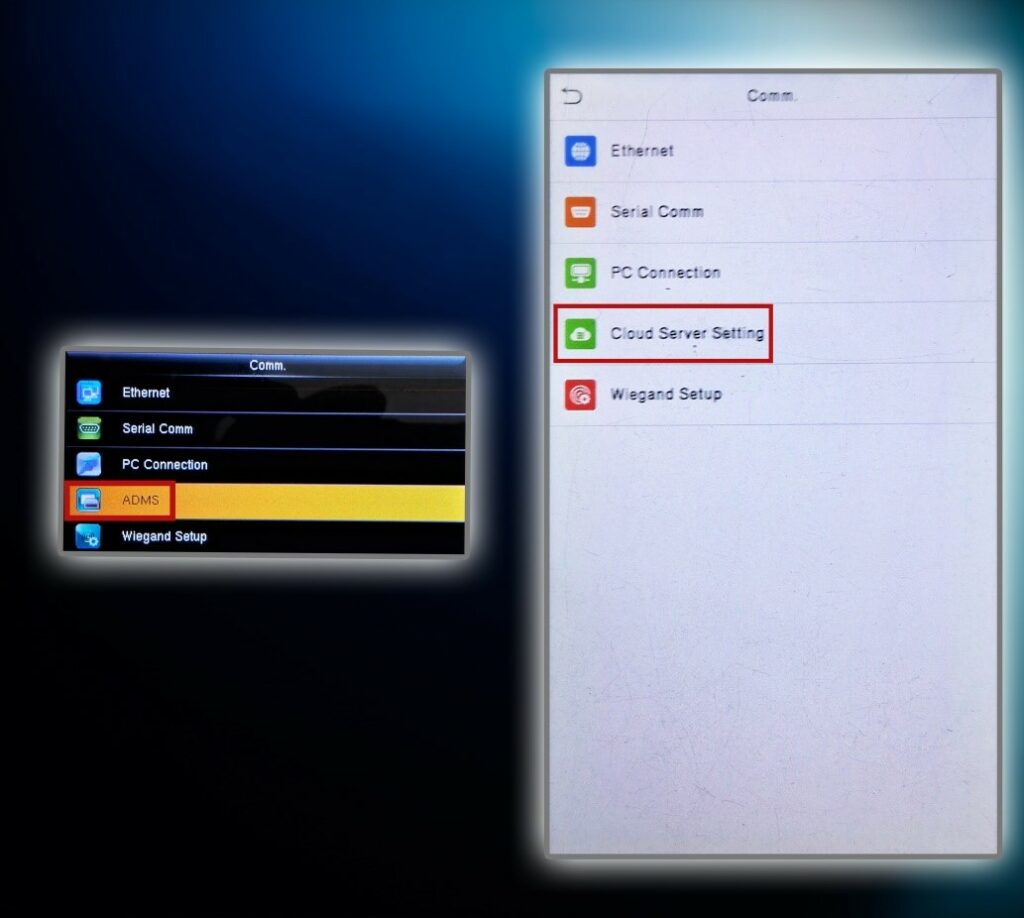
Step 2: Open Cloud Server Settings
- If your menu screen looks like the one shown below, select Cloud Server Setting or ADMS Setup to proceed with the server configuration.
Step 3:
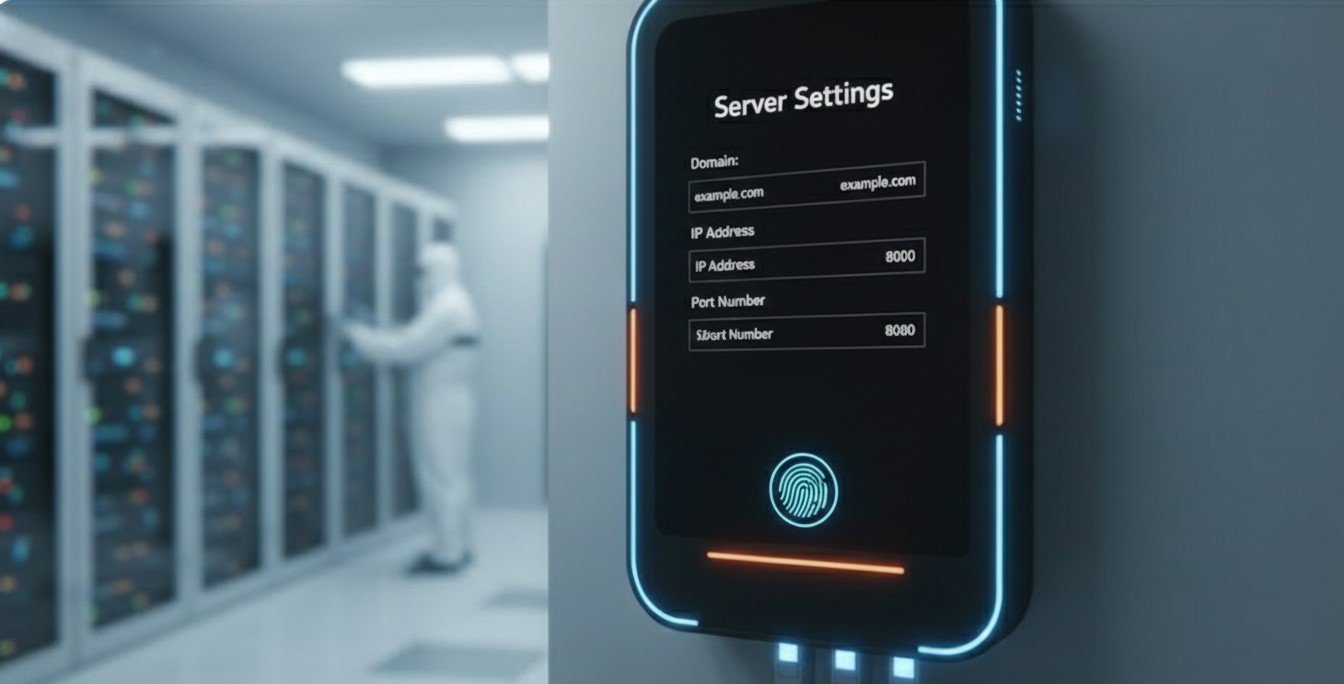
- After selecting Cloud Server Setting or ADMS Setup, the configuration screen will appear as shown in the image below.
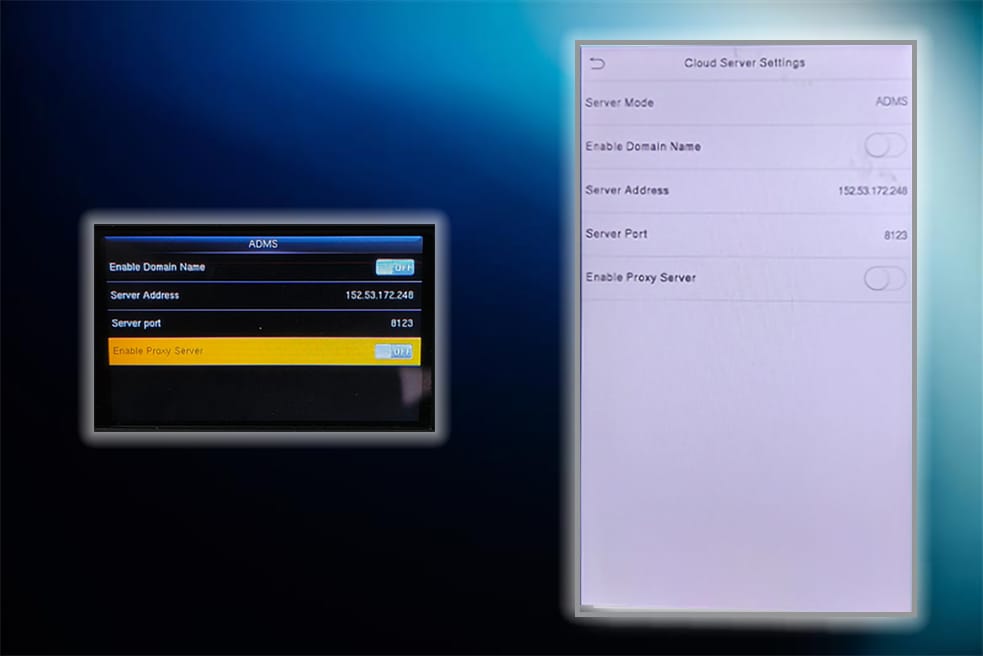
Step 4:
- If Enable Domain Name is turned ON, please switch it OFF.
- Select the IP Address option, enter 152.53.172.248, and confirm by pressing OK.
- Select the Server Port option, enter 8123, and press OK to save.
Note: This port is used for developer applications. If you are connecting to a live application using a purchased API, set the port to 80 instead.
- If Enable Proxy Server is turned ON, please switch it OFF.

Note: If your device has an option for HTTPS, please ensure it is turned off.
Step 6:
- After pressing OK, tap the ESC button to return to the home screen.
- If the machine is successfully connected to the server, you will see a connection icon on the home screen, similar to the image shown below.