


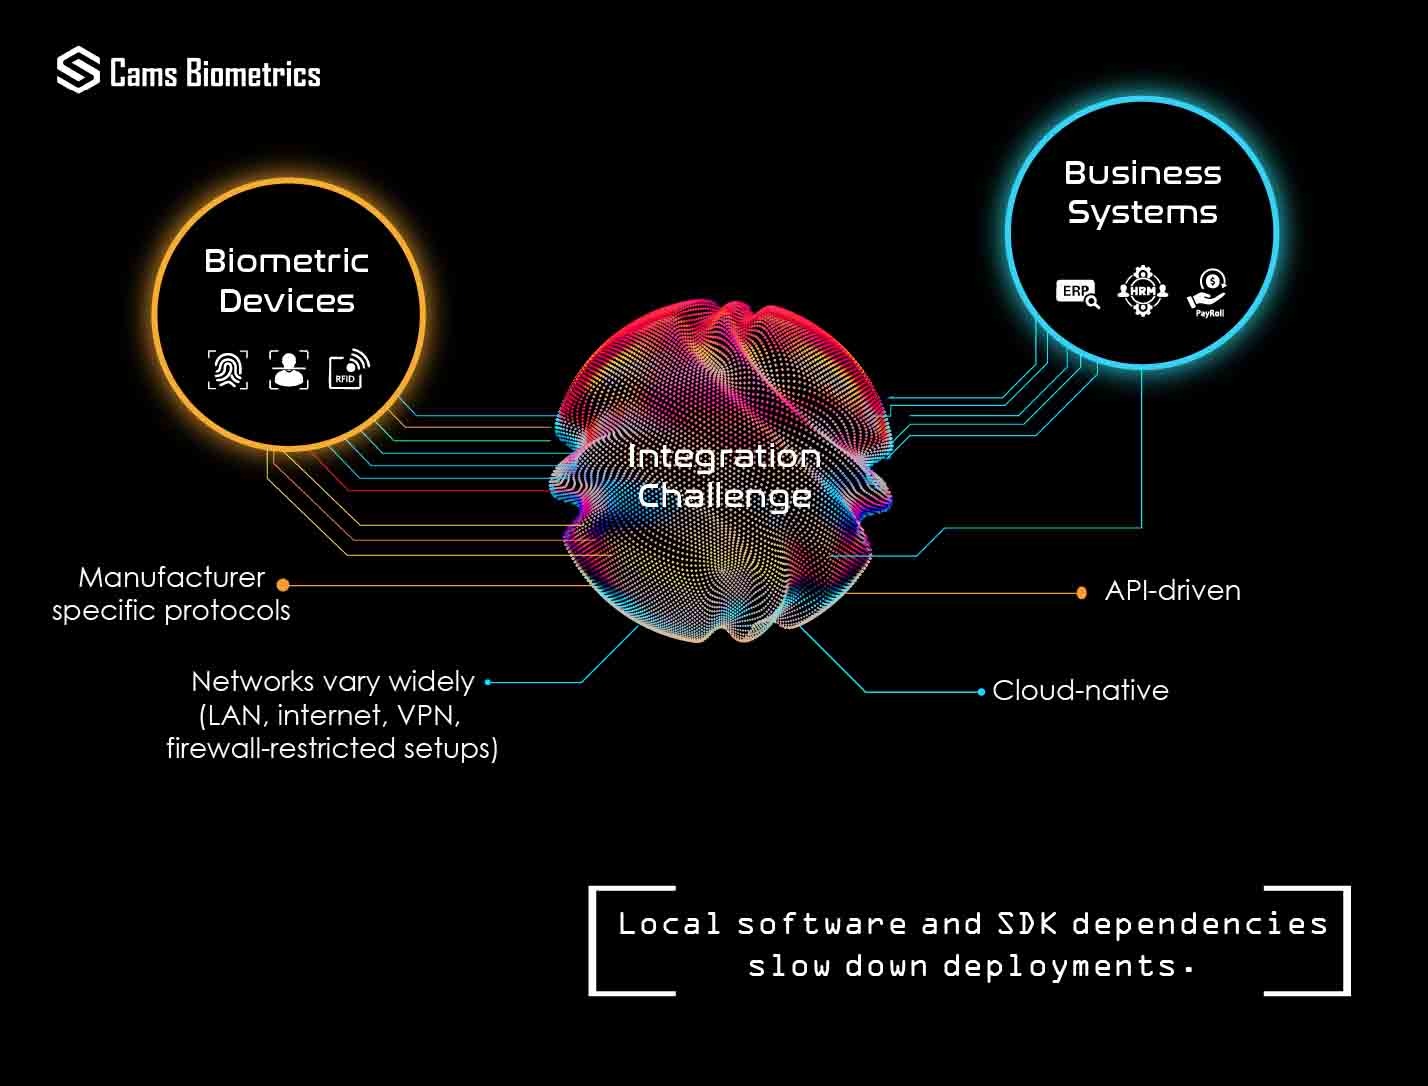
Connectivity Setup:
- Wired Connection (LAN):
- For a wired connection, securely insert one end of the LAN wire into the designated port on your biometric device.
- Connect the opposite end of the LAN wire to an available LAN port on your router or network switch. This establishes a direct and stable connection to your network infrastructure, ensuring reliable data transmission.
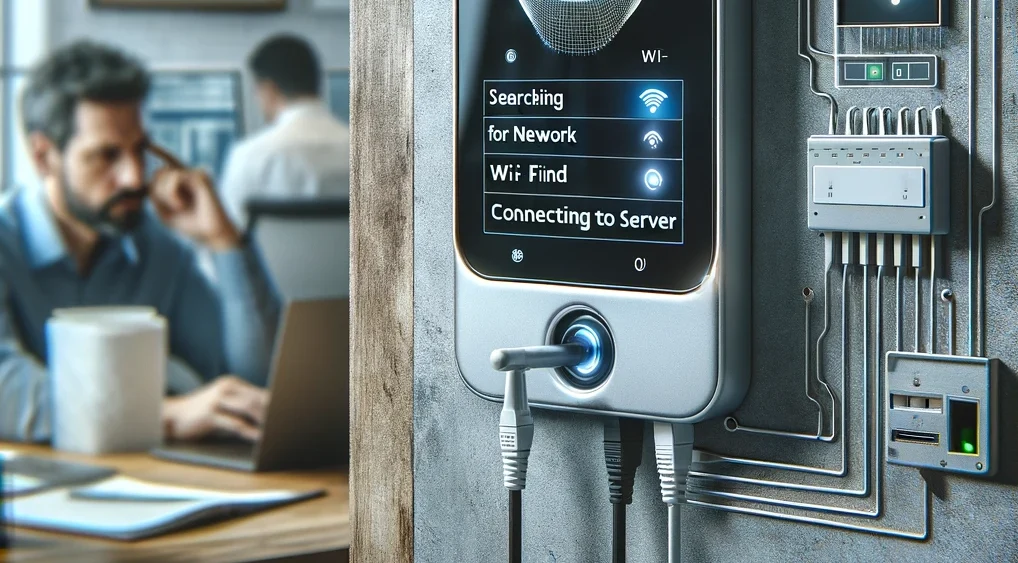
- Wireless Connection (Wi-Fi):
- Access the settings menu->network on your biometric device to configure a wireless connection.
- Navigate to the Wi-Fi settings and input the correct network credentials, including the SSID (network name) and password. This process enables your device to connect wirelessly to the designated Wi-Fi network, providing flexibility in device placement without the need for physical cables.
- If the configured password fails to connect to the network, it’s possible that there are unintended whitespaces in the password section. To address this issue, try pressing the delete button approximately 20 times before configuring the password again. This action helps ensure that any lingering whitespaces are removed, allowing for the correct entry of the password and successful connection to the network.
- Whitelist IP and domain:
- If you have network level firewall, white list the following IP and domains
- 62.138.8.173
- 3x.iotapi.us
- 1x.iotapi.us
- 152.53.172.248
- 152.53.155.149
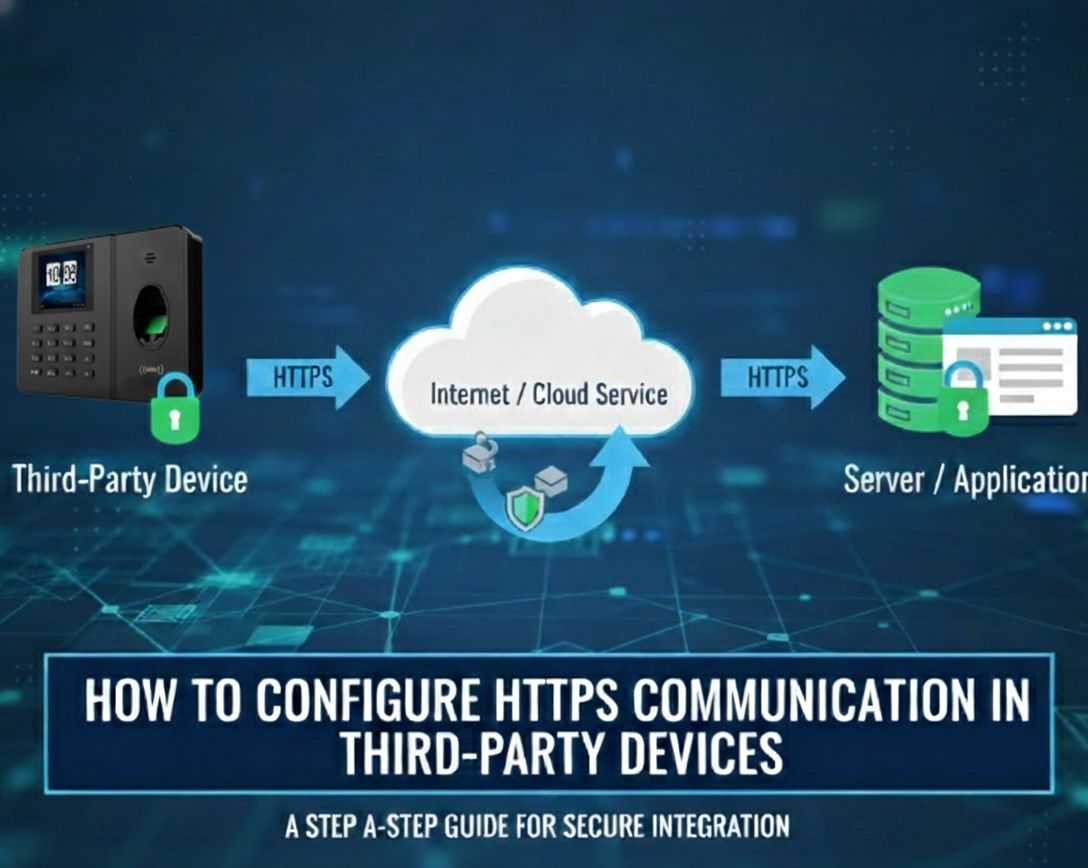
- Server Address and Port Settings:
- For Cams biometric devices: Specify the server address as 3x.iotapi.us or the IP address 152.53.172.248, alongside configuring the port to 7506.
- For 3rd party devices such as ZKTeco and other brands: Set the server address as 1x.iotapi.us or the IP address 152.53.172.248, while adjusting the port to 80.
Verification of Connection:
- After configuring the connection, it is essential to verify the connection status of your biometric device, accessing the Device Status page within your Cams account and check the connection status which shows online.
Troubleshooting Steps:
- Network Connectivity Check:
- Validate network connectivity by pinging the IP address of your biometric device from a computer within the same network with an active internet connection. This step ensures that the device is accessible and effectively communicating over the network.
- DHCP Settings Confirmation:
- Confirm the activation of DHCP (Dynamic Host Configuration Protocol) on your biometric device. DHCP automates the assignment of IP addresses to devices on the network, streamlining connectivity processes.
- If your organization mandates the use of a static IP address, meticulously configure the device’s settings to align with the subnet mask, gateway, and DNS server address of other networked devices.
Note: A display of the IP address as 0.0.0.0 post DHCP activation suggests a failure to acquire a valid IP address, indicating a network connectivity setback.
- IP Address and Domain Whitelisting:
- Implement IP address and domain whitelisting within your network’s security settings to prevent potential blocking issues. This action guarantees uninterrupted communication between your biometric device and the server, bolstering security measures while fostering reliability.
- Network Logs and Antivirus Settings:
- Thoroughly scrutinize the logs of your network antivirus and management applications to confirm that the server address remains unimpeded by any security measures. Adjust antivirus settings as necessary to permit communication with the server, thereby safeguarding smooth operation of the biometric device.
By meticulously adhering to these comprehensive steps, you can effectively troubleshoot connectivity challenges and establish a steadfast connection for your biometric device, ensuring seamless functionality and dependable data transmission.


How can you verify the connection status of your biometric device after configuration, and where exactly should you check this within your Cams account?
Regard IT Telkom
You can verify the connection status of your biometric device by logging into your account at CamsBiometrics.com, then navigating to Login → Device Status. This section will display whether your device is online and properly connected.
For step-by-step instructions and additional configuration details, refer https://forum.camsbiometrics.com/comprehensive-user-guide-for-api-configuration-with-biometric-machines-and-admin-tools-a-first-time-setup-guide/ .