




A callback receiver is the small piece of code that turns every fingerprint, face, or card scan into a record in your own system. Cams Biometrics Gateway sends each verified scan to your server as a JSON request, and your server replies to confirm it arrived. You do not have to write that receiver from scratch. Cams provides AI Code Generator Prompts for Python, Node.js, and PHP: paste one into an AI assistant such as Claude or ChatGPT, and you get a complete working file with a callback receiver, a REST client, and a test interface. This tutorial explains what a receiver must do, how to generate one for your language, how to configure it, and how to test it before going live.
01 · The Six Jobs
What a Callback Receiver Has to Do
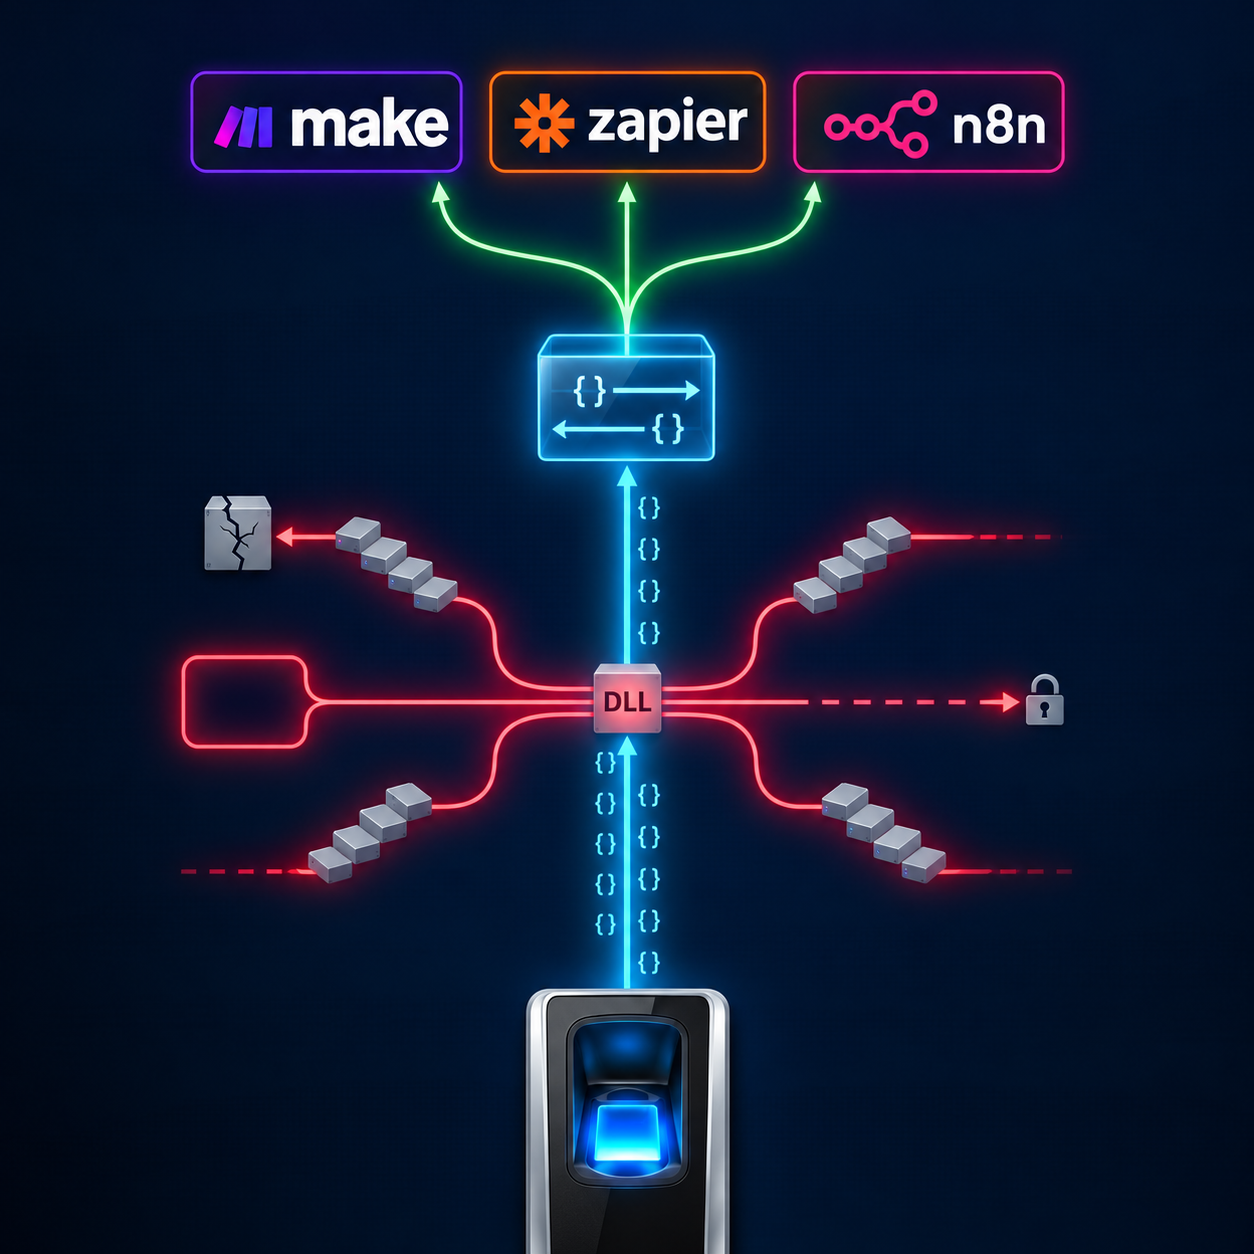
Whatever language you use, every biometric callback receiver does the same six jobs. These are also what to check in any code you generate.
| Job | What it means | Why it matters |
|---|---|---|
| 1. Accept the request | Receive an HTTP/HTTPS POST with a raw JSON body | This is how the Gateway delivers each event |
| 2. Verify the token | Check the AuthToken against your expected callback token | Stops anyone else posting fake attendance to your URL |
| 3. Route by event type | Look at which key is inside RealTime and handle it accordingly | Not every callback is a punch; some report photos or user changes |
| 4. Skip duplicates | Use OperationID to ignore events you have already saved | A repeated delivery never becomes a double record |
| 5. Store and log | Save the fields you need and log every callback | Creates the record your HRMS, payroll, or dashboard will use |
| 6. Reply with done | Return {“status”:”done”} with HTTP 200 | Tells the Gateway the event arrived safely |
02 · Know Your Data
The Payload You Will Receive
The most common callback is a punch log, sent every time someone scans. Save this sample as sample.json, because you will use it to test your receiver later.
|
Callback API, PunchLog request sent to your receiver {
"RealTime": {
"OperationID": "9nu1wak5616p",
"LabelName": "Burj Khalifa",
"SerialNumber": "ZHM11xxxxxxxx",
"PunchLog": {
"Type": "CheckOut",
"Temperature": "36.8",
"FaceMask": false,
"InputType": "Fingerprint",
"UserId": "2",
"LogTime": "2020-09-17 07:48:22 GMT +0530"
},
"AuthToken": "COJJ7eiIPBGUfmIQPvh2PJWWDLX7OuKs",
"Time": "2020-09-17 04:19:03 GMT +0000"
}
}
|
After handling any callback, your receiver must reply with HTTP 200 and exactly this body:
|
Callback API, response your receiver must return { "status": "done" } (HTTP 200)
|
Callback event types
Every callback arrives inside a RealTime object. Your receiver decides what to do by checking which of these keys is present:
| Key inside RealTime | What it reports |
|---|---|
| PunchLog | An attendance scan: who, check-in or check-out, when, and how |
| UserUpdated | A user’s details were updated on the device |
Two details that catch developers out
| Detail | What to watch for |
|---|---|
| The reply key is lowercase | Return status in lowercase with the value done. Do not copy the capitalised Status field from RESTful API responses |
| The LogTime format | LogTime looks like 2020-09-17 07:48:22 GMT +0530. It is the real scan time with the device’s offset. Parse it with the offset and use it as the attendance time |
03 · Let AI Write the Code
Generate Your Receiver With AI Code Generator Prompts
Cams publishes a ready-made prompt file for each supported server language. Each prompt contains a summary of the Cams Web API 3.0 specification and clear instructions for what to build. You paste it into an AI assistant, and the assistant generates a complete, single-file implementation for your stack.
|
Download the prompt file Choose your language in the next section and download its .txt prompt file. |
|
|
Paste it into an AI assistant Open Claude, ChatGPT, Copilot, or any AI coding tool, and paste the entire prompt content. |
|
|
Get a complete working file The AI generates a single file. Set your configuration values, deploy it, and run it. |
| Each generated file includes | What it does |
|---|---|
| Callback receiver | Reads the raw POST body, validates the AuthToken, routes by event type, logs every callback, stores punch logs, saves attendance photos, and replies with done |
| REST client | A generic request function plus wrapper functions for all 27 RESTful operations, such as AddUser, DeleteUser, ResendAllUser, and UpdateAccessTime |
| HTML test interface | A browser page with your configuration fields, an operation dropdown, a JSON editor pre-filled with request templates, a response viewer, and a list of recent callbacks |
|
The hosted documentation comes first Each prompt tells the AI to read the full Cams Web API documentation and treat it as the authoritative source for operations, JSON schemas, field names, and response codes. If anything in the prompt summary conflicts with the hosted documentation, the documentation takes precedence. |
04 · Choose Your Language
Prompts for Python, Node.js, and PHP
Each prompt is tuned to produce idiomatic code with minimal dependencies for its language.
|
|
|
Prompts are also available for C# (.NET 8) with Minimal API, Java with the built-in HttpServer and no dependencies, Go with net/http and the standard library only, and Ruby with Sinatra and SQLite. You can find them all in the AI Code Generator Prompts section of the Cams Web API documentation. Get Prompts.
05 · Three Values to Set
Configuring the Generated File
The generated file has a configuration block at the top. In the PHP version it looks like this, and the other languages use the same three values:
|
Configuration block, PHP version $CONFIG = [
'base_url' => 'https://YOUR_RESTFUL_ENDPOINT_URL',
'stgid' => 'YOUR_SERVICE_TAG_ID',
'auth_token' => 'YOUR_AUTH_TOKEN',
];
|
| Setting | What to enter |
|---|---|
| base_url | The RESTful endpoint URL from your Cams API Monitor account |
| stgid | Your Service Tag ID. |
| auth_token | Your AuthToken, included in your outgoing RESTful requests and checked against the AuthToken in incoming callback requests. |
|
Keep tokens out of shared code For a quick test, typing values into the configuration block is fine. Before production, move the tokens into environment variables or a secrets manager, so they never end up in version control or in a shared file. |
Once configured and deployed at a public HTTPS address, set that address as the Callback URL in Cams Gateway. From then on, every verified scan reaches your receiver in real time.
06 · Test Before You Connect Devices
Testing Your Receiver
You do not need a biometric device to test the callback receiver. Send it the sample payload yourself with cURL, using a matching callback token, and check the response.
|
Terminal, send a test callback # Save the sample payload as sample.json, then send it to your receiver:
curl -X POST https://YOUR_SERVER/YOUR_CALLBACK_PATH \
-H "Content-Type: application/json" \
-d @sample.json
# Expected response (HTTP 200):
# {"status":"done"}
|
| Test | What to send | Expected result |
|---|---|---|
| Valid event | sample.json, with the AuthToken set to your auth_token | HTTP 200 with done, and the punch is saved |
| Duplicate event | The same request a second time | HTTP 200 with done, and no second record is saved |
| Wrong token | sample.json with a different AuthToken | Rejected, and nothing is saved |
| Check-in event | sample.json with Type changed to CheckIn | Saved as a check-in |
| RESTful operation | Use the built-in HTML test interface to send an operation | A response with Status and StatusCode |
The generated HTML test interface makes the RESTful side easy to try: open the file in a browser, choose an operation from the dropdown, adjust the pre-filled JSON, and send it. The recent callbacks viewer on the same page confirms your test callbacks were received.
07 · Production Checklist
Review Before You Go Live
AI-generated code is a fast and reliable starting point, but like any code, it should be reviewed before it handles real employee data.
| Item | Done when |
|---|---|
| Code reviewed | A developer has read the generated file and understands what each section does |
| HTTPS only | The receiver is only reachable over HTTPS with a valid certificate |
| Tokens protected | AuthTokens are stored in environment variables or a secrets manager |
| Duplicates handled | OperationID is stored and checked so repeated deliveries are ignored |
| Storage suitable | The JSON file store is fine for small setups; larger deployments may move to a production database |
| Test interface protected | The HTML test page is password-protected or disabled on public servers |
| Photos handled carefully | Attendance photos saved to disk are access-controlled and kept only as long as needed |
| Monitoring in place | Errors and unusual callback volumes are logged and alerted on by your own monitoring |
|
Keep business rules elsewhere The receiver’s job is to accept, verify, route, store, and acknowledge. Deciding who is late, calculating overtime, or sending notices belongs in the systems that read the stored events, such as your HRMS, ERP, or automation tools. A focused receiver is easier to secure and maintain. |
Frequently Asked Questions
|
Do I need to write any code myself? Usually not. The AI Code Generator Prompts produce a complete working file. You set three configuration values, deploy it, and test it. A developer should still review the code before production. |
|
Which AI assistants work with the prompts? Any capable AI coding assistant, including Claude, ChatGPT, and Copilot. Paste the entire prompt content in one go so the assistant has the full specification. |
|
Where do I find the RESTful endpoint URL and Service Tag ID? Both come from your Cams API Monitor account. RESTful requests are posted to the endpoint URL with ?stgid= followed by your Service Tag ID. |
|
Why reply with done for a duplicate event? Because the event did arrive safely, even if you had already saved it. Replying with done tells the Gateway it does not need to send it again. |
|
Can I use a language that is not listed? Yes. The callback receiver only needs to accept an HTTPS POST and return JSON. The prompts are a shortcut, and the same API works with any language that can do that. |
Conclusion: From Prompt to Real-Time Attendance in an Afternoon
A biometric callback receiver is small, but it is the piece that turns every verified scan into live data for your HRMS, payroll, dashboards, and automations. With the Cams AI Code Generator Prompts, you no longer need to build it from a blank page. Download the prompt for Python, Node.js, or PHP, paste it into your AI assistant, set three values, and test. Then review it, secure it, and let real-time attendance data start flowing.
Cams Biometrics Gateway delivers the events your receiver needs. Its Callback API sends every verified scan in real time, in one consistent JSON format, from devices across more than 15 brands, and its RESTful API offers 27 operations your generated client can call. All communication runs over HTTP/HTTPS with auth token validation and optional AES-256 encryption. Explore the platform at CamsBiometrics.com and read the full Web API documentation, including every AI Code Generator Prompt: Get Prompts.